Robin Hood’s Cross Walk Overview
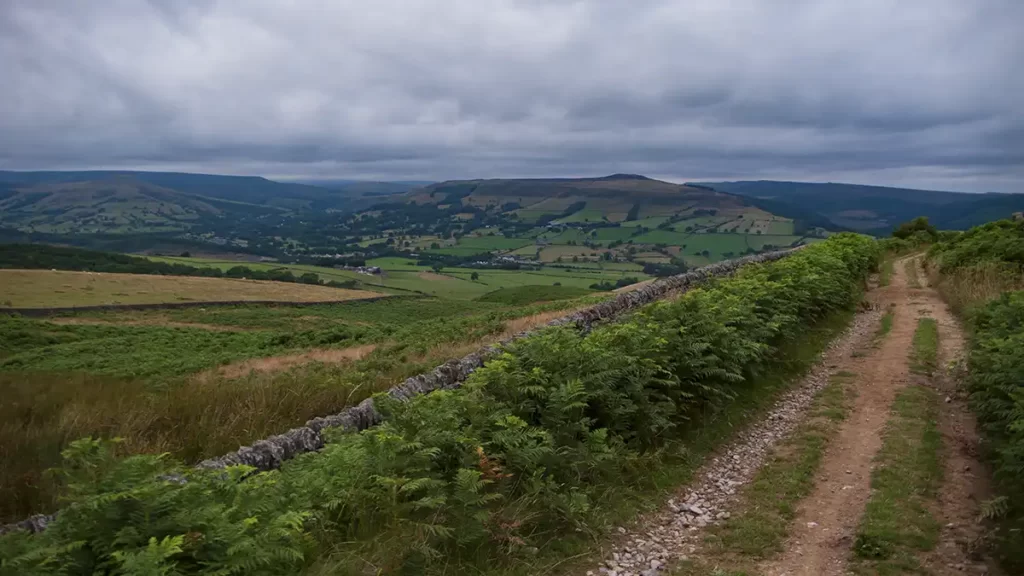
Beginning just outside the quiet residential hamlet of Shatton, this walk to the site of Robin Hood’s Cross climbs above the village of Bradwell, to Bradwell Edge with views of the Hope Valley before returning over Shatton Moor.
Shatton Moor can have quite a few midges especially on autumn evenings. Whilst not enough to be inhospitable, a good insect repellent is recommended on this walk for the later section.
Distance & Elevation
Distance: 5.9 Miles (9.5km)
Total Ascent: 1113ft / 339m
Time: 3hr 5m
Getting There
Travelling by Car:
Roadside parking along Mytham Bridge (the road behind the bus turning circle) at the edge of Bamford, off Station Road A6103 – postcode S33 0EA
Travelling by Public Transport:
The Mytham Bridge starting point is just behind the bus turning circle served by buses between Sheffield & Castleton. Bamford Railway Station is a very short walk from Mytham Bridge – from the station turn left along the main road than turn right just before the bus stop and walk down the Mytham Bridge road
Route Maps
Ordnance Survey Map & App
Map: Ordnance Survey OL1 (Dark Peak)
Get this route on the OS maps website & app
Komoot
The time is loosely based on Naismith’s Rule and will vary depending on the walker.
Mytham Bridge & Shatton to Brough Lane
From your parking spot (or after walking from the bus or train station) walk to the bottom of the Mytham Bridge lane. At the end of the road, turn right over a footbridge alongside the main road. Walk past the garden centre to reach a road junction. Turn left, crossing over the main road onto Shatton Lane and into Shatton.
Follow the lane through the village, bearing right at a road junction by Wheat Hay Farm along a lane signed “Unsuitable for Motor Vehicles”. Cross Oakdale Brook beside a ford by the path to the right of the road.
The road heads uphill and to the right, arriving at a set of stone steps to the left side of the road. Climb the steps and through a gate to follow the public footpath which runs alongside and above the road. Pass through two gates then behind a barn. After passing through two more gates, stay left to join the wide vehicle track alongside the road.
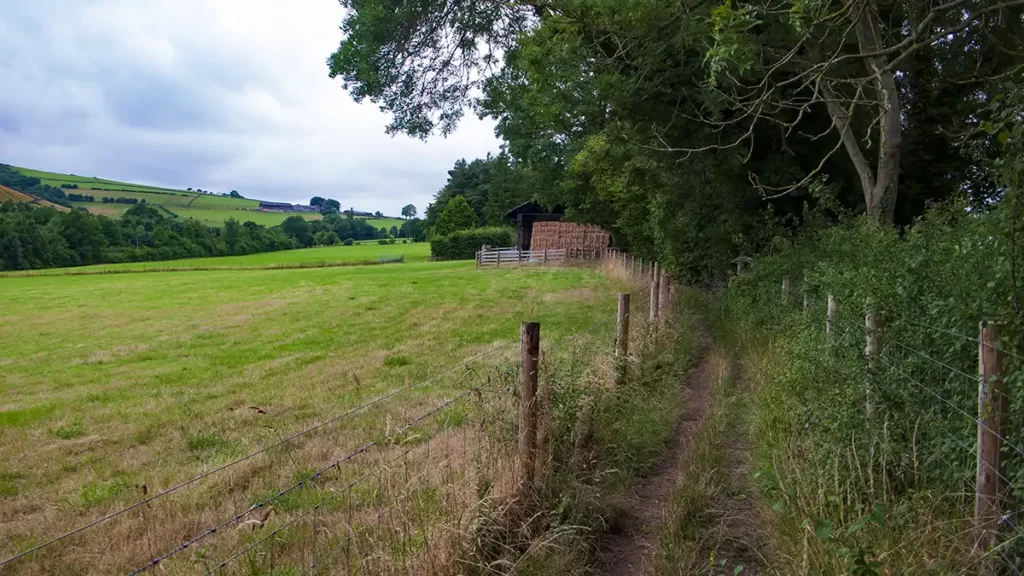
The track rejoins the road just before Shatton Hall. Follow the track heading right through a gate, with views of Win Hill Pike ahead, and further right, Bamford Edge.
At a wooden post beside a stone wall, turn left heading up towards Ellmore Hill Farm. Pass through the farm, bearing right through the yard then following a stone wall to your left heading to a gate at the top of a field.
Brough Lane to Robin Hood’s Cross
Pass through the gate at the top of the field and turn left, climbing steeply up a clear track which heads up towards the mound of Rebellion Knoll ahead-right. As you pass Rebellion Knoll, the track levels out, with Bleak Knoll and Abney Moor rising in the distance ahead.
Head through a gate on the track and continue on to a finger post pointing right (signed “Bradwell”). Turn right, through the gate. Shortly afterwards, head through a second gate and continue straight ahead with a wall to your right. As the path and wall swing to the left, turn left downhill on a rough path with a broken stone wall on your right.
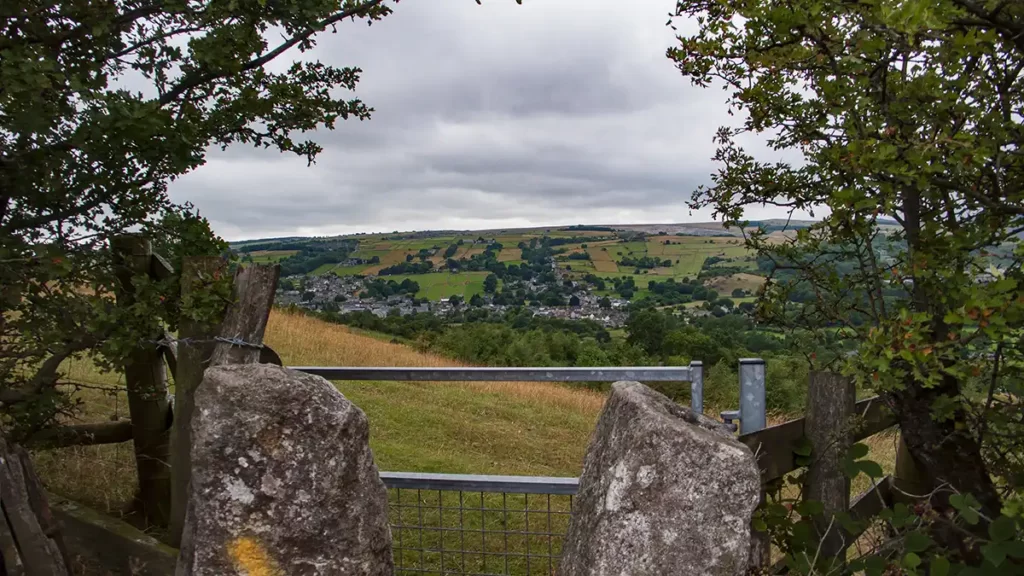
Descend the path with the village of Bradwell below to your right. After passing between two stone pasts, look out for the old stone wall on your left which could be partly covered in bracken in the summer months. As the clearer path curves to the right heading downhill, at the end of the stone wall on your left take the fainter path on the left, stepping over stones at the broken end of the wall.
Follow this fainter, higher path which soon begins to ascend then forks. Take the left fork to climb steeply up Bradwell Edge. Pass a stile on your right and continue uphill with a wall to your right
From Robin Hood’s Cross walk to Shatton Moor
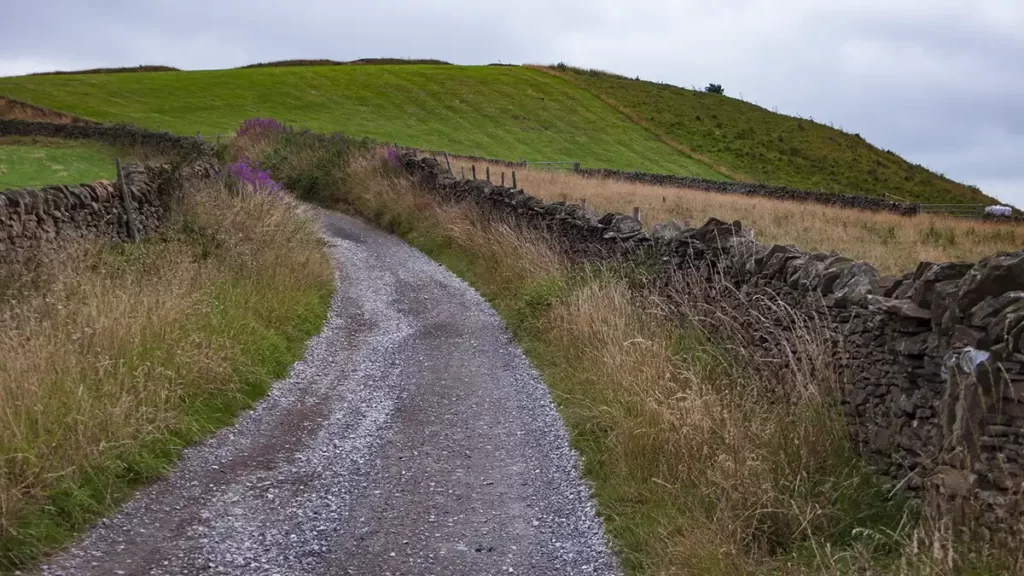
Where another stone wall joins the path, pass through a stone stile and a modern gate. Continue along to the left of the stone wall heading east, crossing another wall through a squeeze stile. Head through the nest field past a modern gate and over a stone stile to rejoin Brough Lane. Turn right along the lane.
Follow Brough Lane as it contours left around the moorland of Over Dale on the left and towards a radio mast. Stay on the main path which eventually turns sharply left at Wolf’s pit. Keeping to this main track, follow it to reach the radio mast on Shatton Moor.
Shatton Radio Mast to Mytham Bridge
After passing the radio mast the track turns right and begins to descend. Pass a footpath fingerpost on your left and continue to follow the track. (Whilst the finger post does lead to a shortcut which cuts off the sweeping corner of the track, the gradient is extremely steep and difficult, and may require a little bottom-sliding. The wide track is the easier descent.
Continue down the track which becomes a tarmacked road (Shatton Lane) and turn left down the lane as it reaches a gate on the right.

Follow Shatton Lane as it turns left and walk down the road back to the junction at Wheat Hay Farm. Retrace your steps back through Shatton to the main road, over the bridge and back to the start.